

Branding
Set your logo, colors, and favicon so your storefront looks like your restaurant.
Your branding makes the storefront feel like your restaurant, not a generic ordering page. You set it under Settings → Branding. Changes apply across your whole storefront after you save.
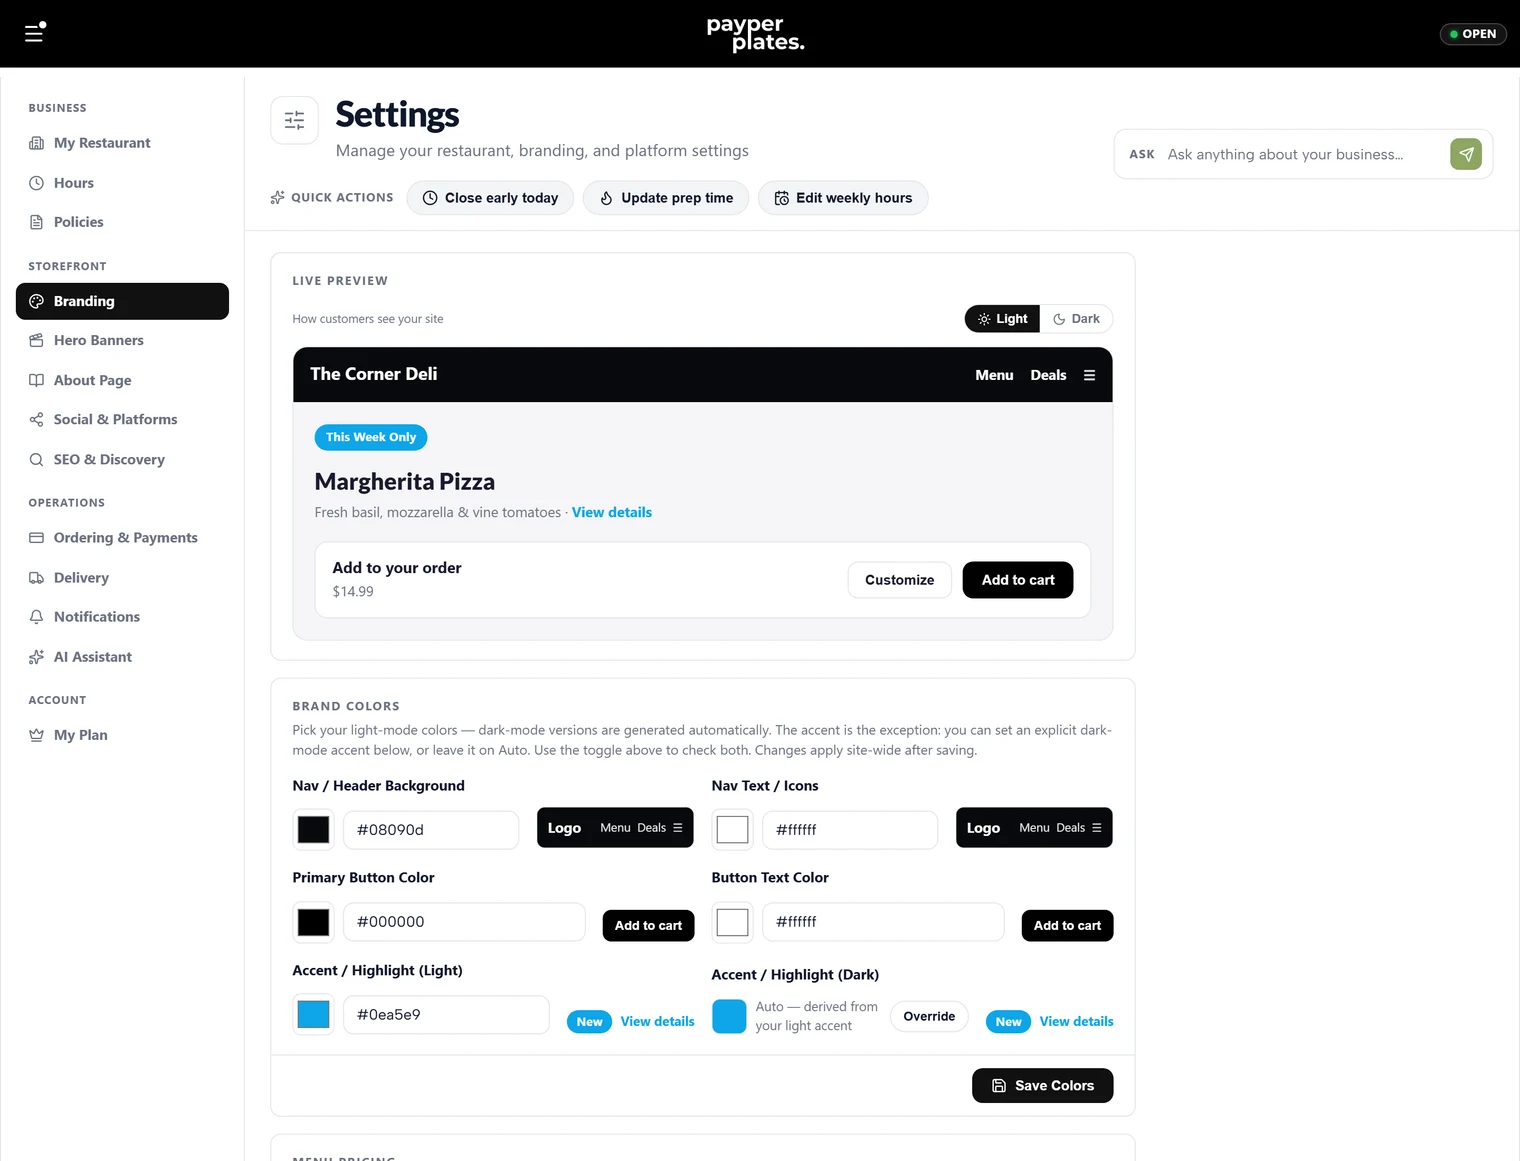
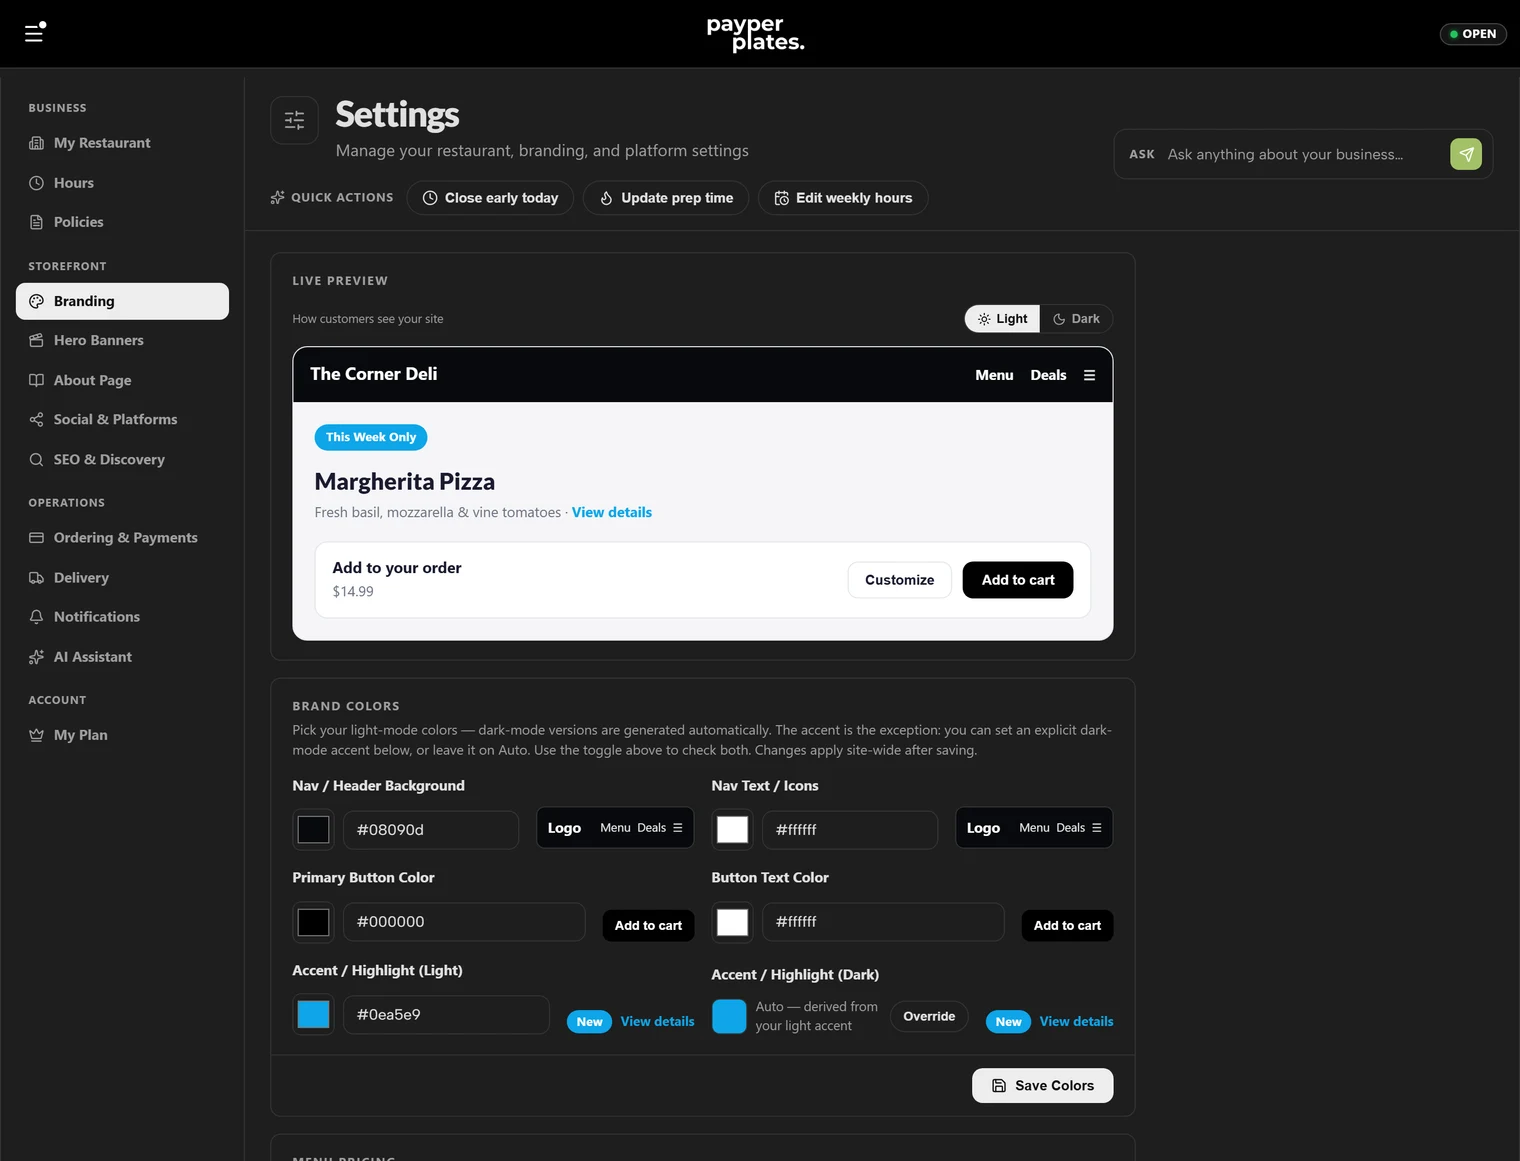
Brand colors
Set your colors under Brand colors. You pick your light-mode colors and PayperPlates generates the matching dark-mode versions automatically, so your storefront looks right whether a customer's phone is in light or dark mode. The colors you control are:
- Nav / Header Background — the bar across the top of your storefront.
- Nav Text / Icons — the text and icons on that bar.
- Primary Button Color — your main action buttons, like "Add to cart".
- Button Text Color — the text on those buttons.
- Accent / Highlight — used for highlights and emphasis. You can set an explicit dark-mode accent or leave it on Auto.
- Footer Background and Footer Text — the footer at the bottom of every storefront page.
The header and footer keep the same colors in light and dark mode. Navigation, button and footer text must be readable against their backgrounds. A contrast check under each pair flags a combination that's too faint, and you can't save until it passes.
Use the light/dark preview toggle to check both modes, then Save Colors.
Storefront typography
Under Storefront typography, choose one font for normal text (Body font) and one for headings. Your hero banners use the heading font too, so each page uses at most two fonts.
Featured items
The Featured items section names the row of featured dishes at the top of your menu. Change its Section title to anything you like, such as "House favourites". Mark items as featured from the item editor.
Menu pricing color
Under Menu pricing you can choose how the price tags on your menu cards look — your brand default or the accent color — whichever stands out best against your menu.
Logo
Upload your Logo under the Logo section. A square format works best (PNG or WebP, transparent background preferred). Your logo appears in your storefront header and other branded spots.
Favicon
The Favicon is the small icon shown in the browser tab. Use a square image, at least 48×48. If you leave it blank, your logo is used automatically.
Home screen name
When a customer saves your storefront to their phone's home screen, the home screen name is the short label that appears under the icon. Keep it short so it is not cut off.
Preview before you commit
Every branding change has a live preview. Toggle between light and dark and check that text stays readable on your chosen backgrounds — especially button text on your primary color — before saving.