

Set up your first menu
The shortest path from an empty account to a live, orderable menu.
This is the quick path from an empty account to a menu customers can order from. Each step links to a fuller guide if you want more detail.
Step 1: Create your categories
Categories are the sections of your menu — Appetizers, Mains, Drinks, and so on. They group your items and set the order customers see them in. Start by creating a few categories that match how you think about your menu. You can rename and reorder them any time. See Categories.
Step 2: Add your items
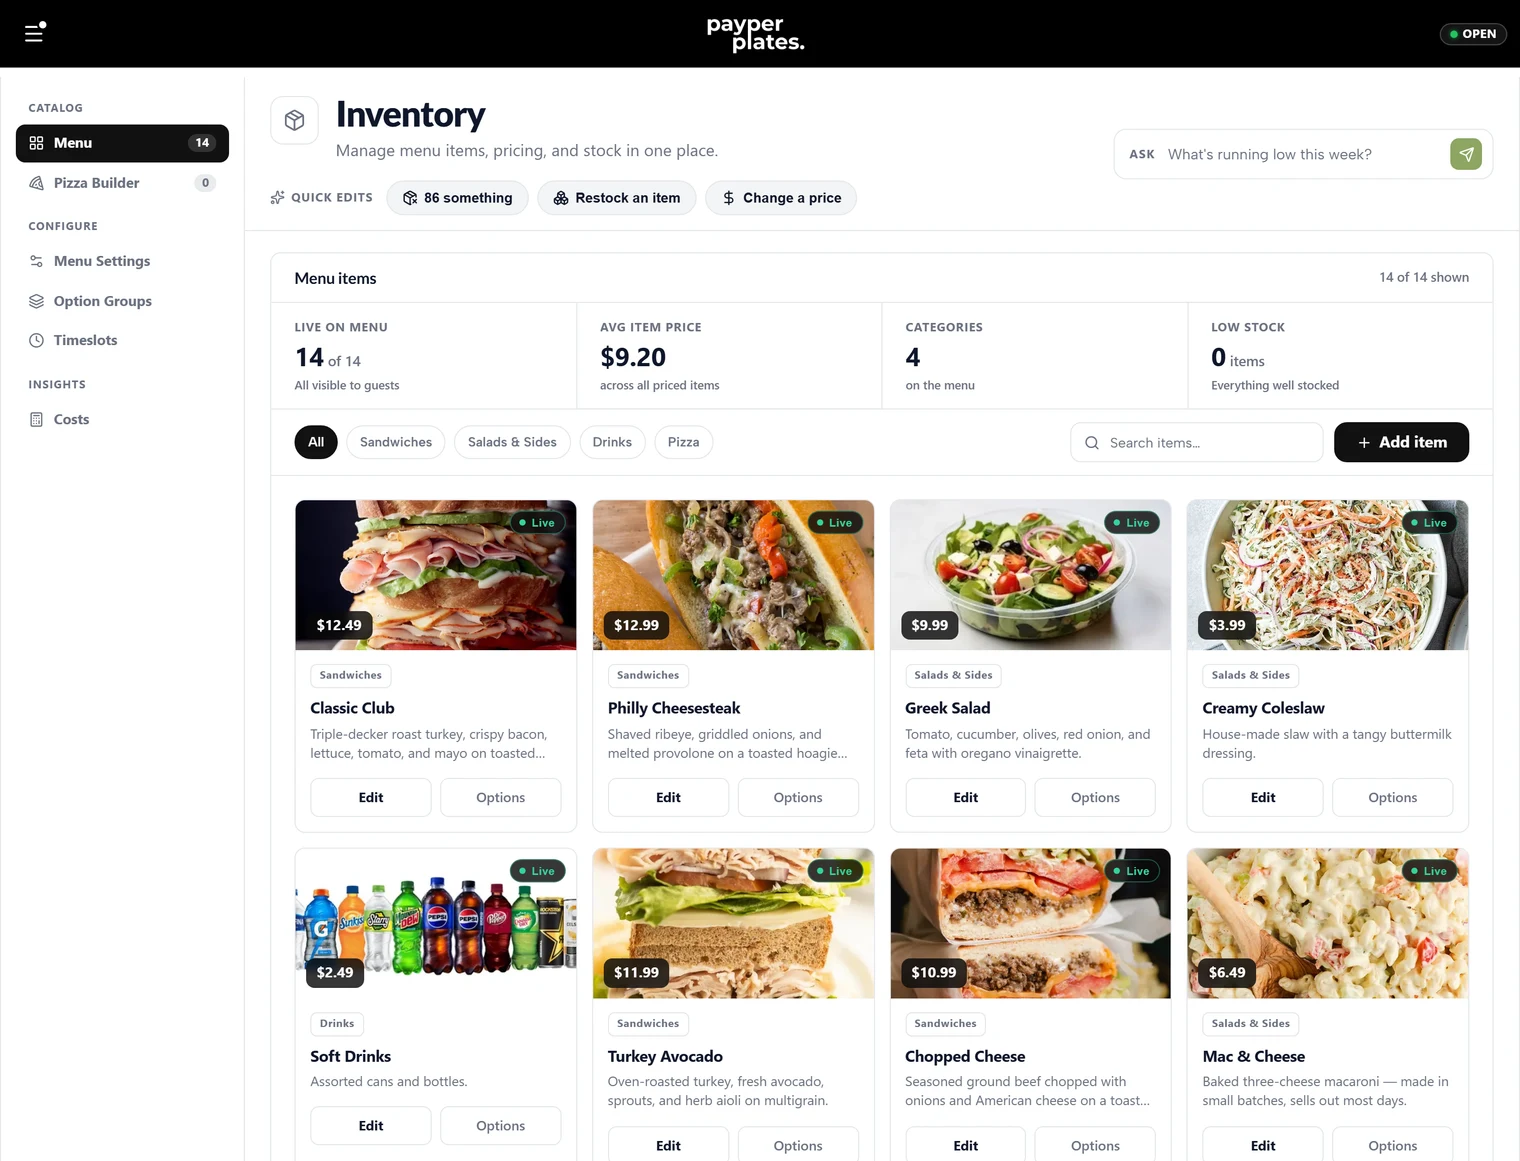
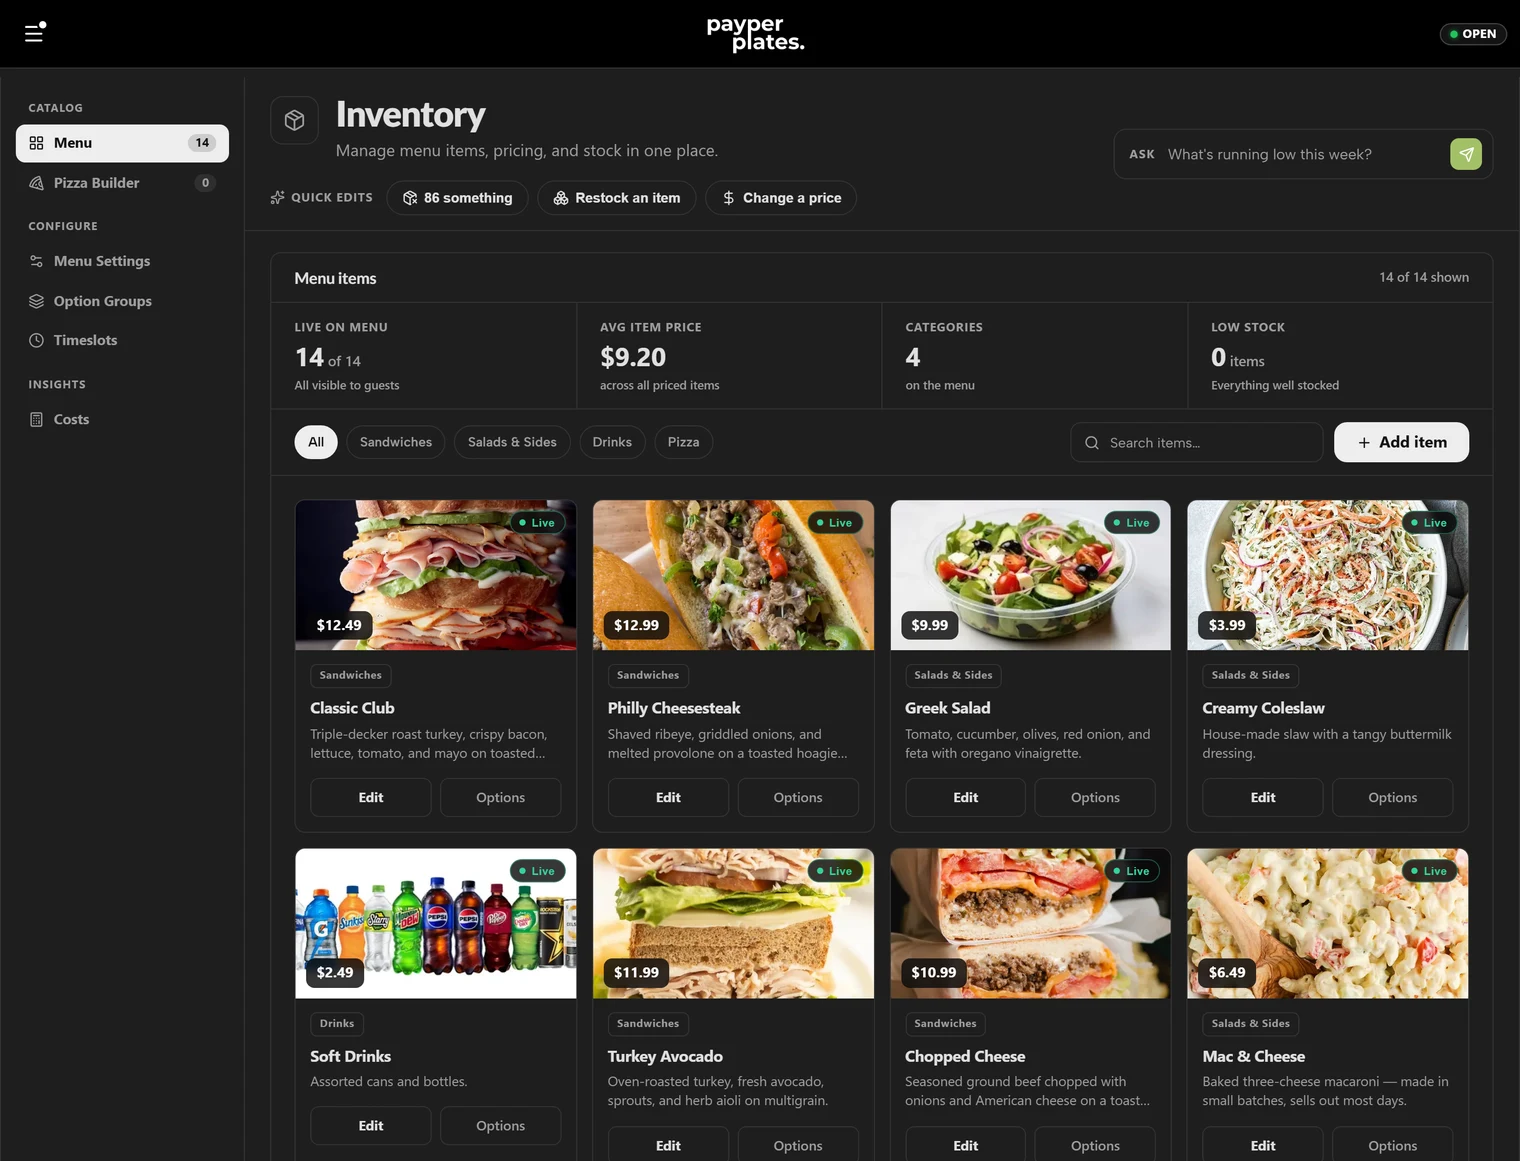
Open Inventory and add your menu items one at a time. For each item you set a name, a description, a price, and — if you have a photo — an image. Assign each item to one of the categories you just created so it lands in the right section. See Menu items.
Step 3: Add sizes and options where you need them
If an item comes in more than one size (small / large, 6-inch / 12-inch), set those up as sizes so each size carries its own price. If an item has choices or add-ons — toppings, sides, "how spicy" — set those up as option groups. See Sizes and pricing and Modifiers and option groups.
Step 4: Make items live
An item only appears on your storefront when it is set to live. As you finish each item, mark it live. You can keep an item saved but hidden while you are still working on it, then flip it live when it is ready.
Step 5: Preview your storefront
Open your storefront address (see Your storefront address) and look at your menu the way a customer will. Check that categories are in the right order, prices look right, and every item you expect is showing.
Next
Once your menu looks right, set your hours and payment method and run through the Going-live checklist before you start taking real orders.