

Menu items
Create and edit menu items — names, descriptions, photos, categories, and making them live.
Menu items are the things customers order. You manage them under Inventory in your admin dashboard, in the Menu section. This guide covers creating an item, filling in its details, and controlling whether it shows on your storefront.
Add an item
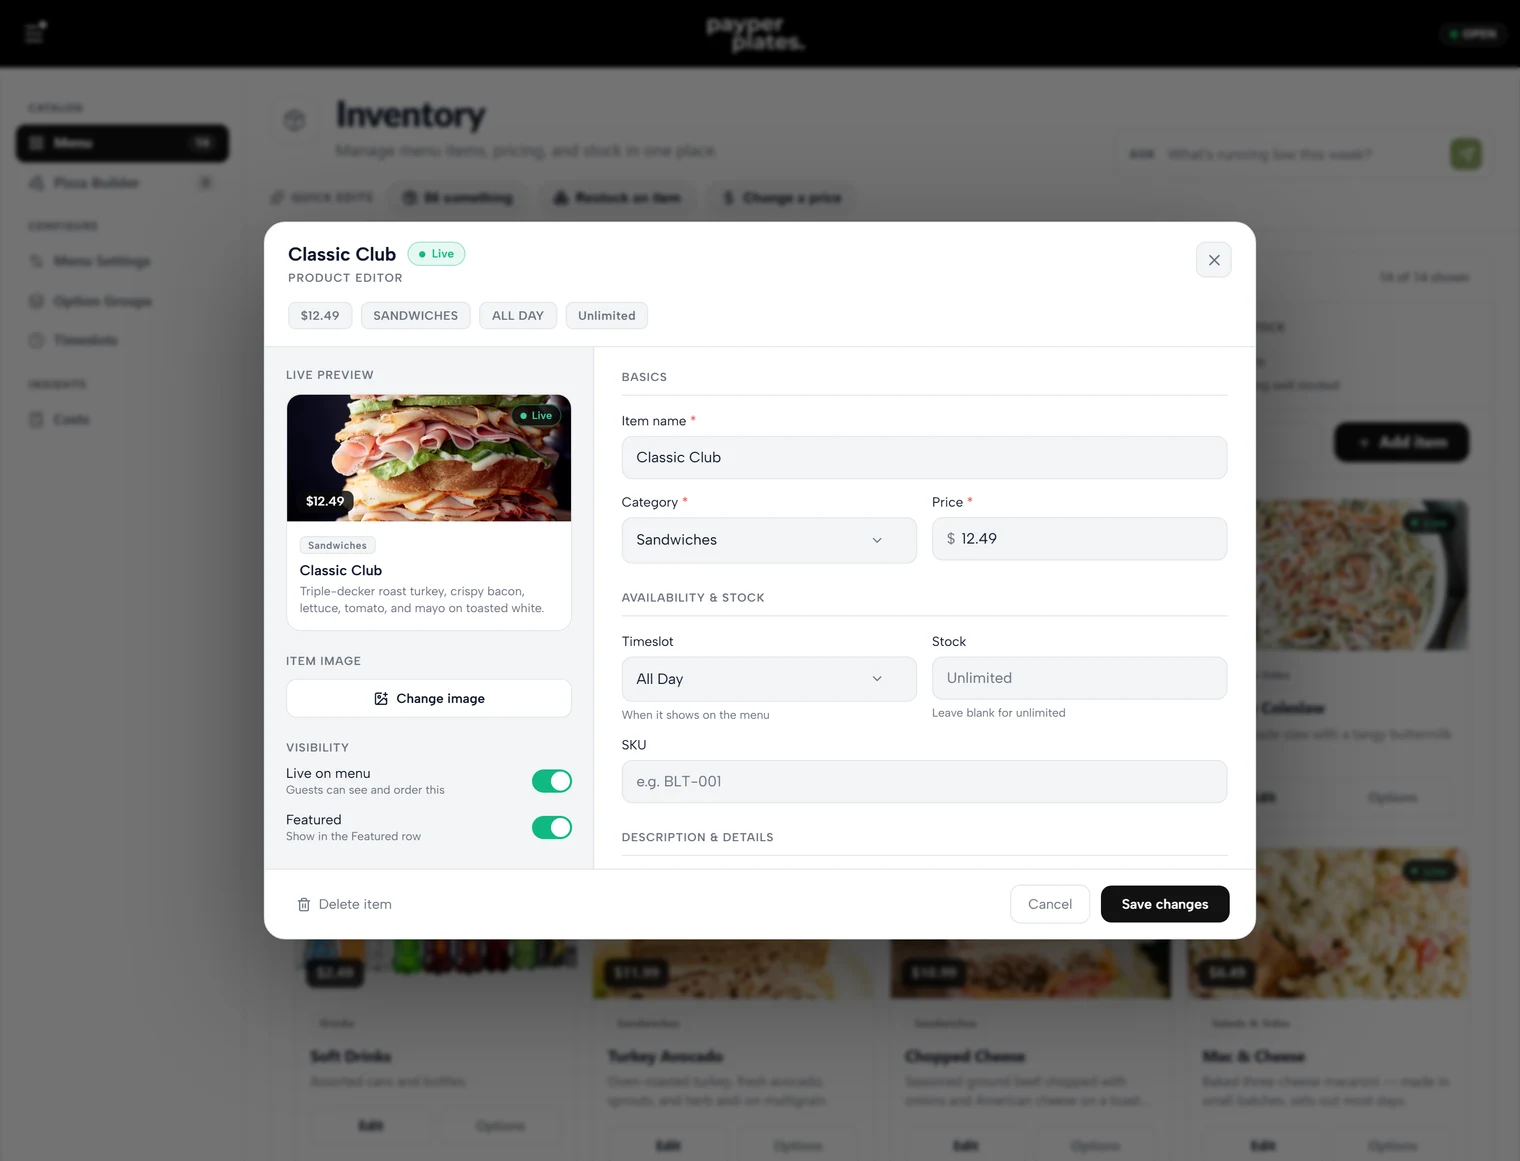
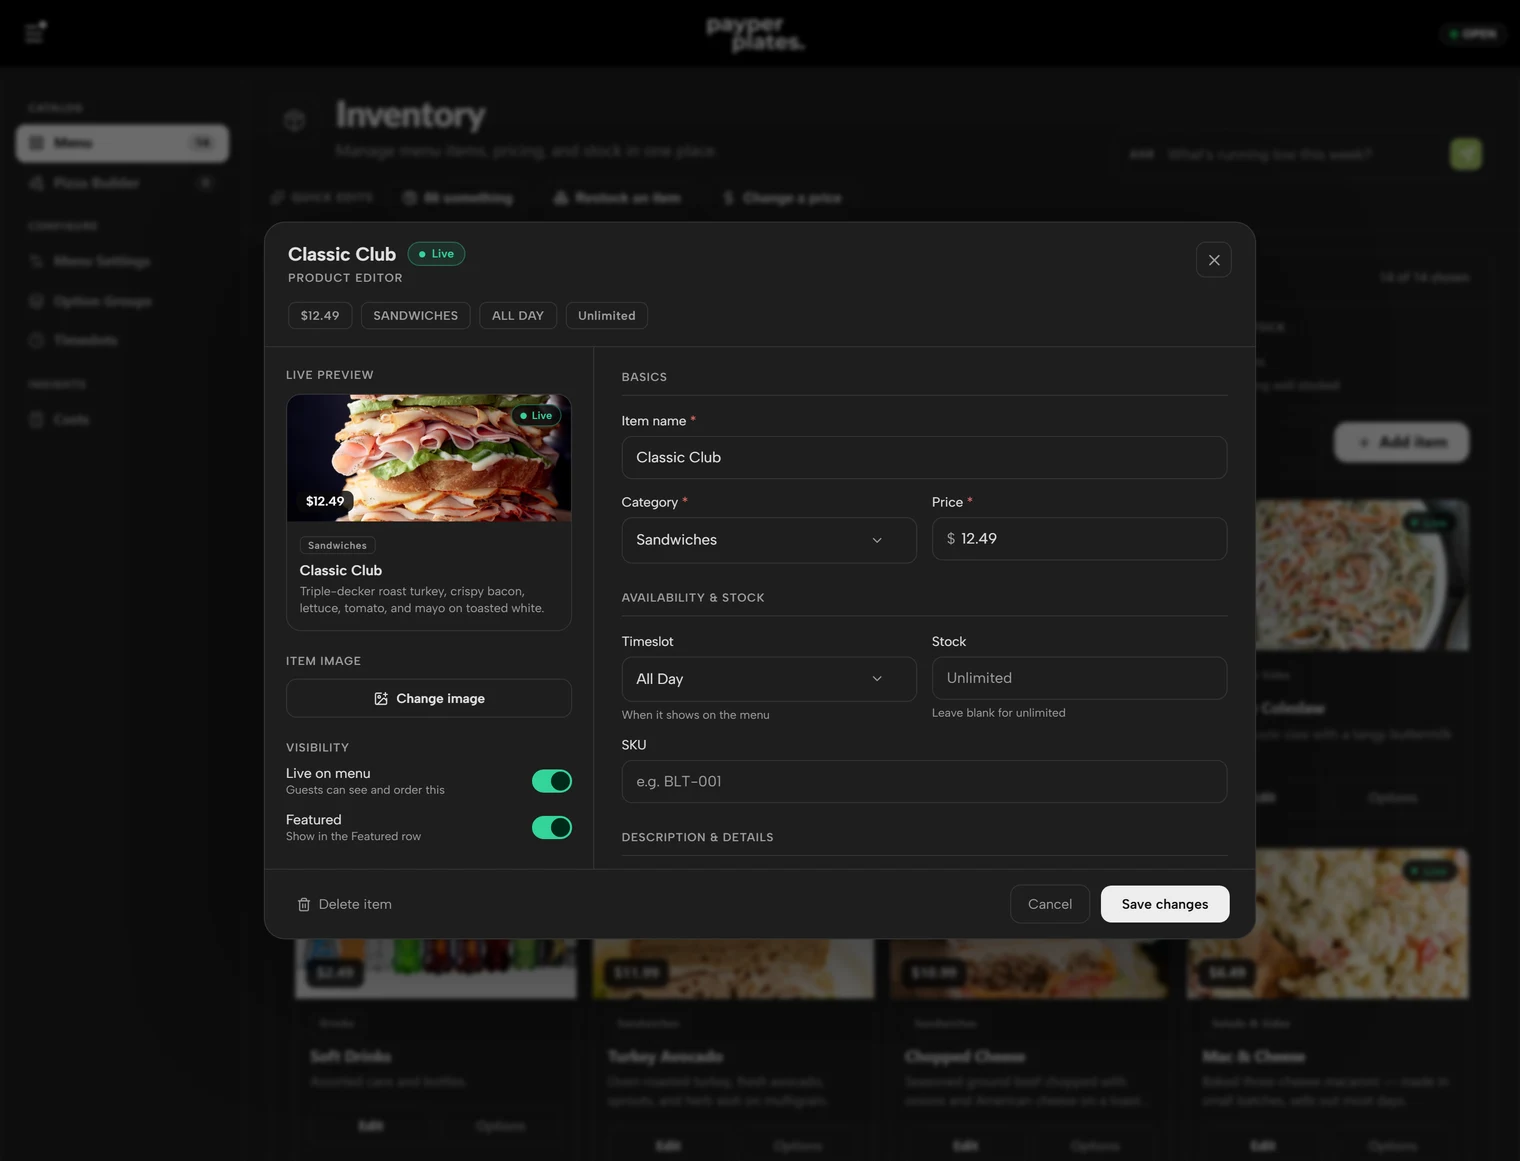
In Inventory, open the Menu section and add a new item. A new item needs at least a name and a price. Give it a clear, customer-facing name — the exact text customers will read on your menu.
Fill in the details
For each item you can set:
- Name — what customers see.
- Description — a short line about the item. Good descriptions help customers choose and help the customer assistant answer questions.
- Price — the base price of the item. If the item comes in more than one size, prices are handled by sizes instead — see Sizes and pricing.
- Category — which section of your menu the item belongs to. See Categories.
- Photo — an image of the item. A clear photo noticeably lifts orders. You can upload your own; some items may also carry a default image.
Add choices and add-ons
If an item has options — toppings, sides, a spice level, "make it a combo" — attach an option group to it. Option groups are how customers customize an item and how you charge for extras. See Modifiers and option groups.
Make an item live
An item shows on your storefront only when it is set to live. While you are still writing an item, you can keep it saved but not live so customers do not see it yet. When it is ready, set it live and it appears on your menu.
To take an item off the menu temporarily — because you have sold out for the night — do not delete it. Mark it out of stock instead, so it comes back easily. See Stock and 86ing.
To show an item only at breakfast, lunch, dinner, or during a custom service window, assign a menu timeslot under Availability & stock.
Edit or remove an item
Open any item to change its details; your changes appear on the storefront right away. Deleting an item removes it for good, so delete only things you no longer sell. For anything temporary, use out-of-stock or set the item not live.
Bulk changes and the assistant
For a one-off change you can also just ask the assistant — "raise the cheeseburger to $15" or "hide the summer salad" — and confirm the change. See Merchant assistant.